
Firstly, the screws at the back of the computer were unscrew. On most computer cases, there will be large knobs that you can unscrew by hand or screw driver on the back-right side of the computer.
Once the screws were removed, the side panels were removed then. On most computers, they were just slide off. Started with the left side panel (the side that once had the knobs), slide it towards the back of the computer. Now you can remove the left panel.
Once the screws were removed, the side panels were removed then. On most computers, they were just slide off. Started with the left side panel (the side that once had the knobs), slide it towards the back of the computer. Now you can remove the left panel.
Just like the side panels, the top panel was slide off. The top one slides toward the back of the computer. The front panel clipped onto the metal frame with four tabs, so you must pushed them in and slide the whole panel forward.


Most computers have two fans: 1) the system fan, which blows air into the computer, and 2) the CPU fan, which blows air onto the CPU heat sink. I will start by removed the system fan. It is located at the back side of the computer, the side with all the component plugins. First, the fan was unscrewed from the outside. It should be labeled as "SYS_FAN1". Next, the fan from the motherboard must be unplugged. You can find the plug by followed the wires from the fan. Now, the fan should be able to lift out of the PC.

The CPU fan which is located at the right on top of the CPU heat sink, is a large piece of metal with fins on the top. The CPU fan plugs into the motherboard in an awkward place, that is hard to access. Just followed the wires and you can easily found it. It is labeled as "CPU FAN1". To remove the fan from the heat sink, the four screws were removed.

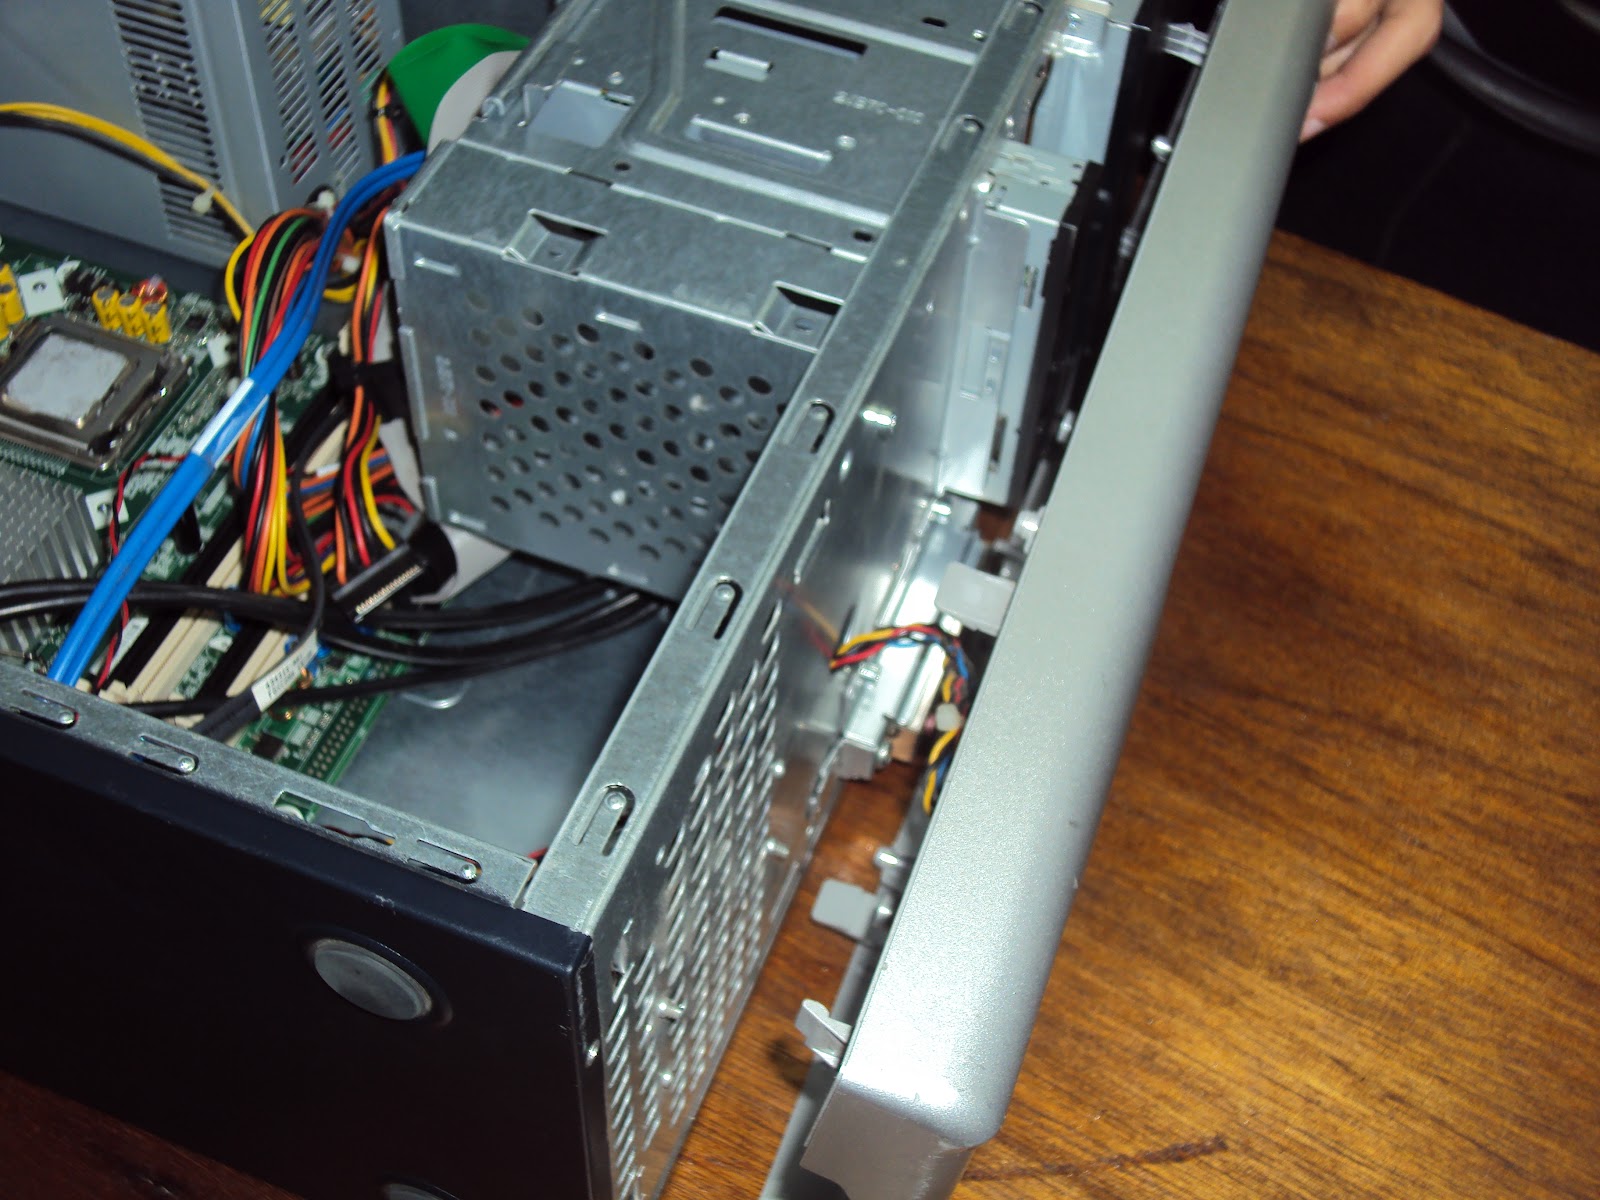
The CD/DVD Drive is the one of the components that was easy to remove. First, the ribbon was unplugged from the back of the drive. Once it completed, the tab which secured the drive in place was pulled, then pushed out from the inside.

The Floppy Drive is also one of the easiest components to remove. First, unplug the ribbon from the back of the drive. Once completed, pulled on the tab which secured the drive in place, then push it out from the inside.

First, de-attach the connector at the back of the slot and unplugged the other end from the motherboard. Then, the SATA cable was also unplugged from the motherboard and the hard drive. The portable hard drive slot was secured the same way as the CD/DVD drive, using a tab. The tab was pulled, then the slot was slide out.
To remove the hard drive from the side of the slot, the four screws which were secured in place were unscrewed. You must be very careful to not drop the hard drive, as it is very delicate.

The more RAM you have, the faster your computer runs. Most computers have 4 RAM slots and two RAM chips. My computer came stock with two, but yours might have more or less. To remove the RAM, pushed down both tabs while holding the RAM in place, which are located at both ends of the RAM. Please refer to the pictures.
No comments:
Post a Comment